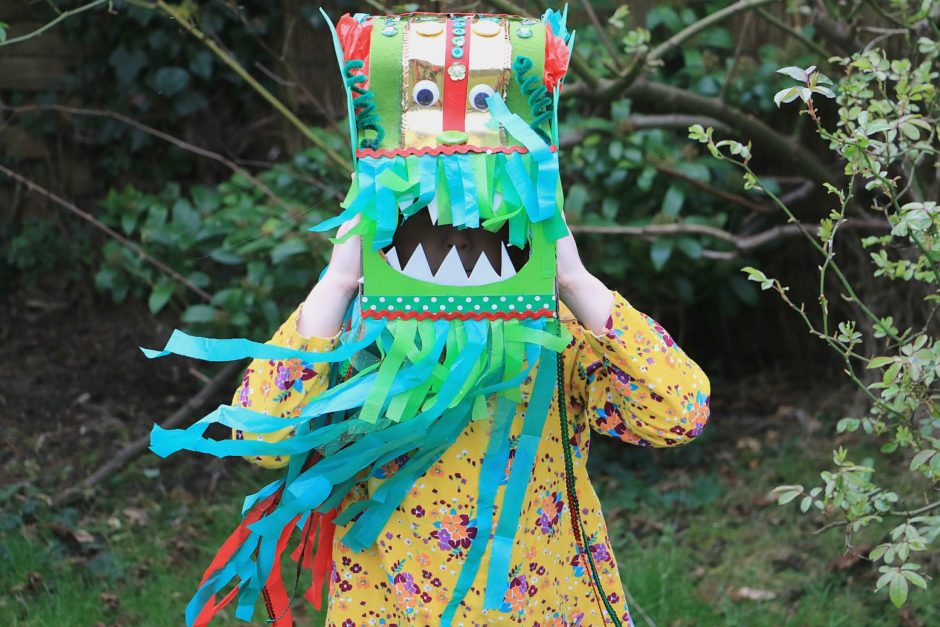
As a #BostikBlogger, we received another excellent craft box this month and decided to make a Chinese dragon mask. This was a first for us although five year old POD loved the idea of making something she could actually wear! There are many elaborate creations out there but given we’re not skilled cardboard designers, we opted for a rectangular box we could adapt as a base.
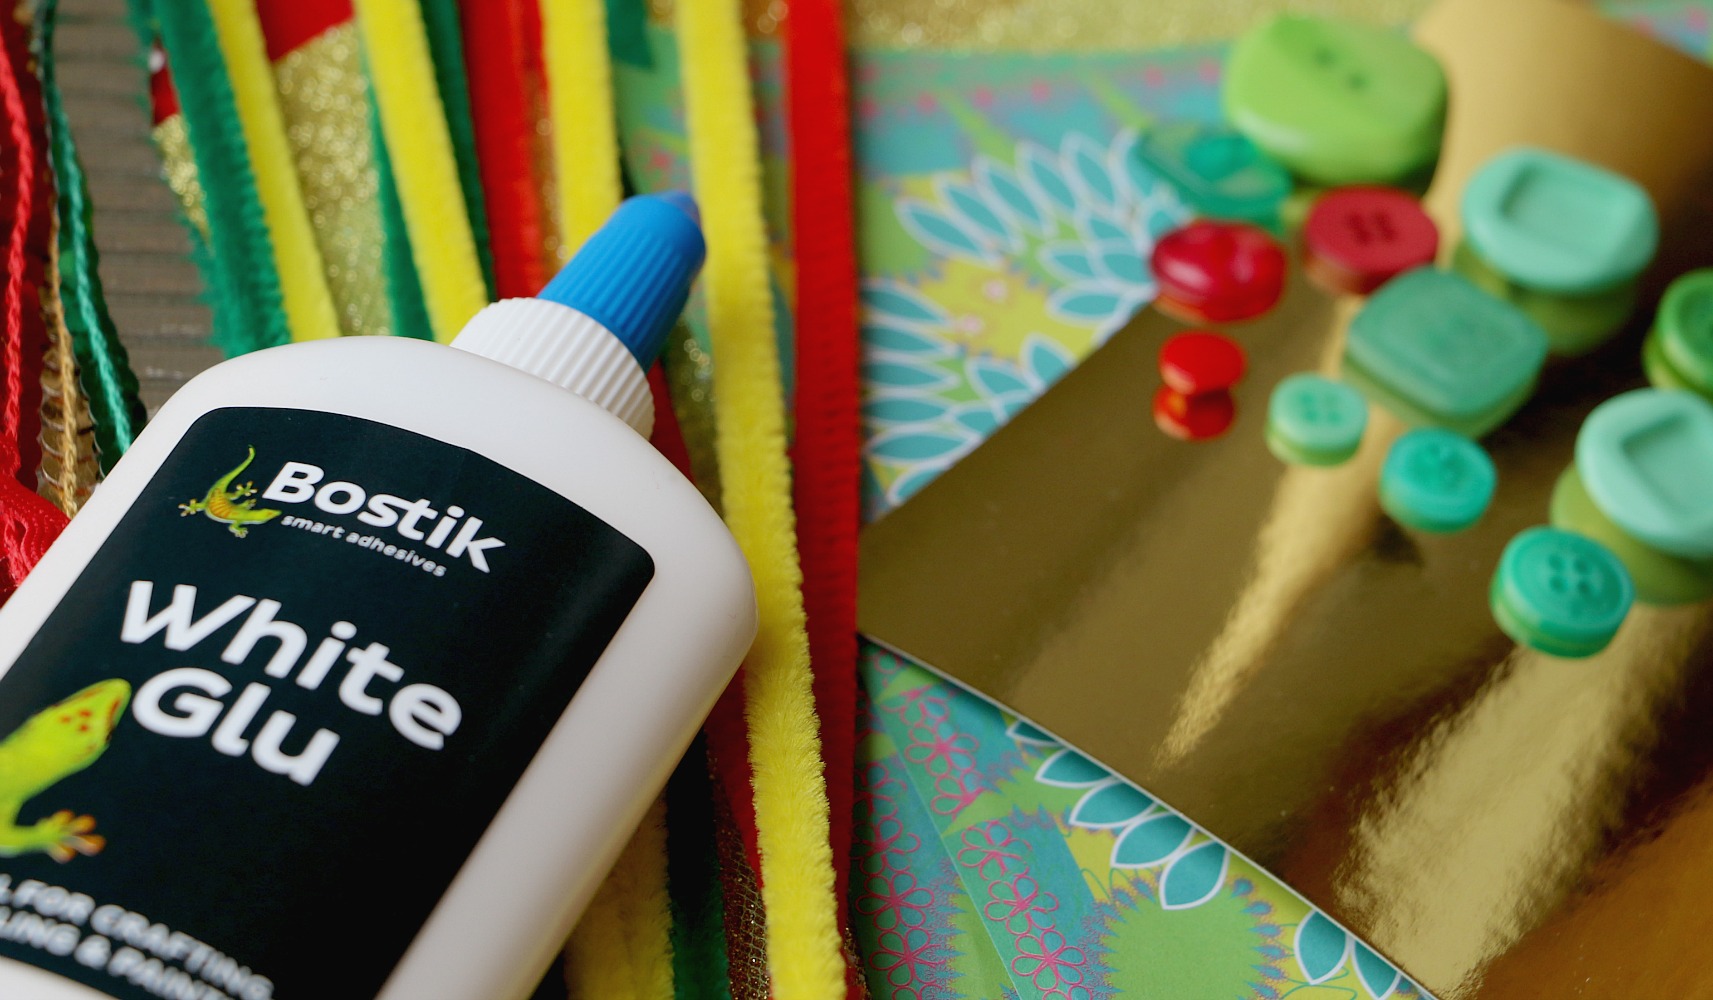
Although you can alter what materials you use to create your dragon mask, it’s likely you’ll need the following in addition to the box: glue (we used Bostik White Glue and Blu Tak Fast Tac Spray Glue), a selection of coloured card, foam sheets, felt, tissue paper, embellishments, pipe cleaners and googly eyes.
Our initial job was to create the outline shape using our rectangular box. We cut the bottom off one end first so it was easier to work with – this would form the hole for POD’s head although we did that when our dragon was completely dry. We cut an oval shape in the other end for the dragon’s mouth and teeth.
Although you could paint your box and leave it to dry overnight, we decided to glue coloured paper to ours. We used Blu Tak Fast Tac Spray Glue to do this (outside) as it sticks paper and card together super fast like spray mount does. You just cut each piece of card to size, spray each section of the box and bobs your uncle – you’re all done in less than ten minutes. We used green paper round the sides of our box and red on the bottom. Next up we cut out the teeth using a white foam sheet – white card would work too. Once the teeth were glued in place, we cut out some wings and attached these to each side of our box.
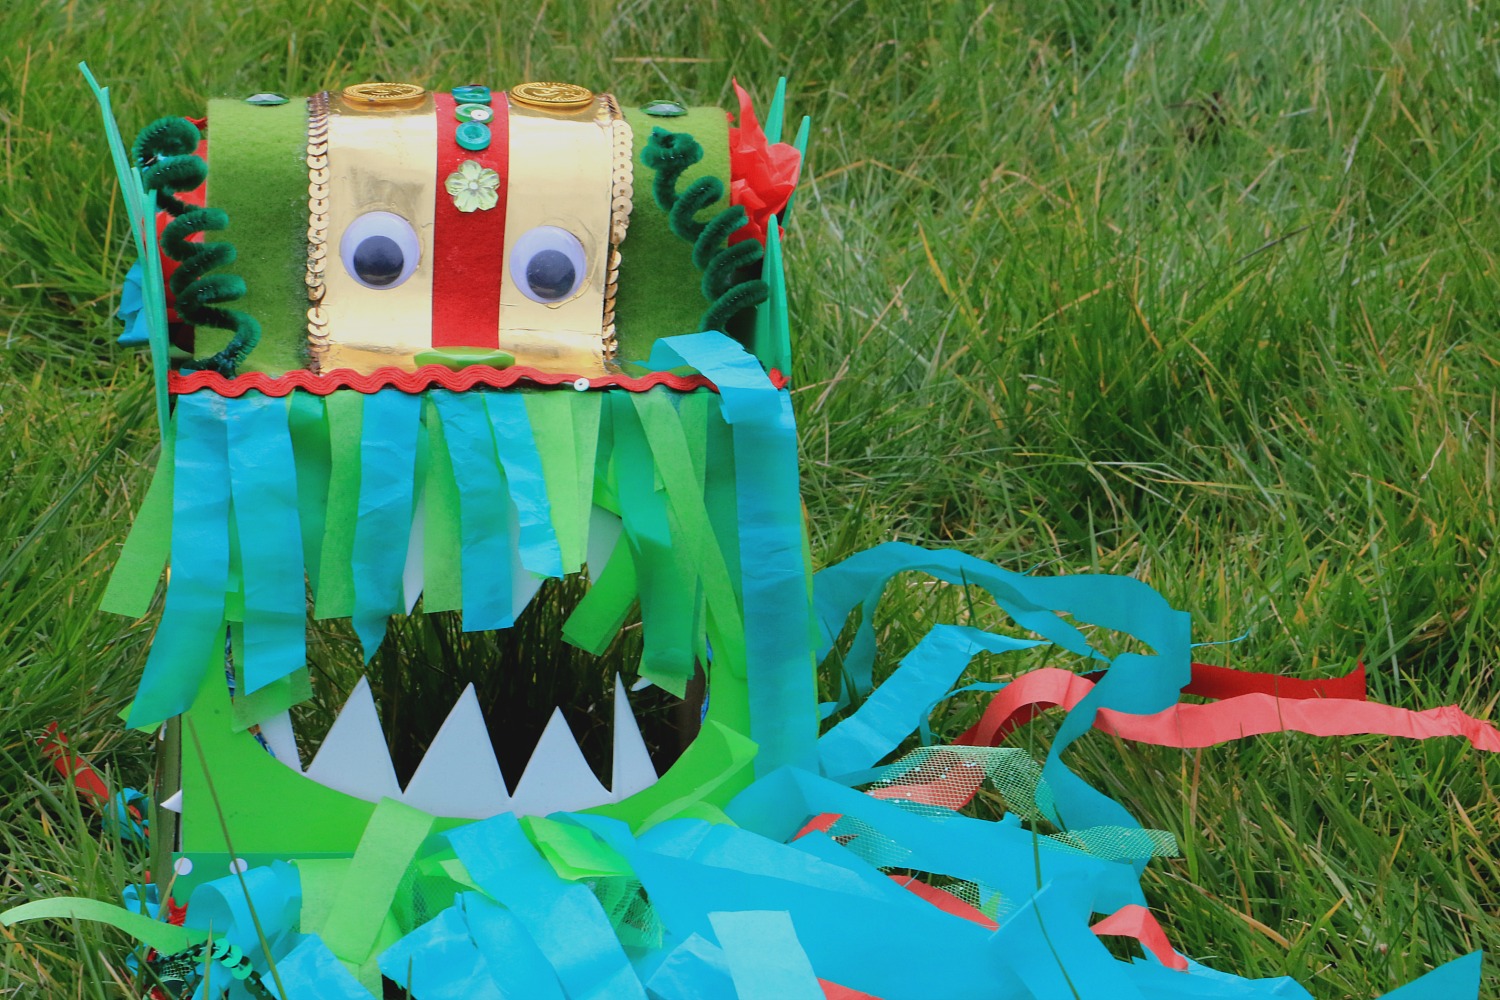
To create the raised effect the head has, we first attached a piece of card and glued it at one end only – directly above the teeth. The idea being we’d stuff the area beneath it with tissue paper once the glue was dry. While we were waiting we set about making the decorative layer. For this we used green and red felt, gold card and embellishments but you can use anything you have in your craft box. We then attached the new layer to our dragon and stuffed tissue paper beneath it to give the head some height. To keep everything in place, we added a part-rolled piece of glittery gold card to the back. Once everything was sturdy, we added eyes, curly pipe cleaners and a few more embellishments.
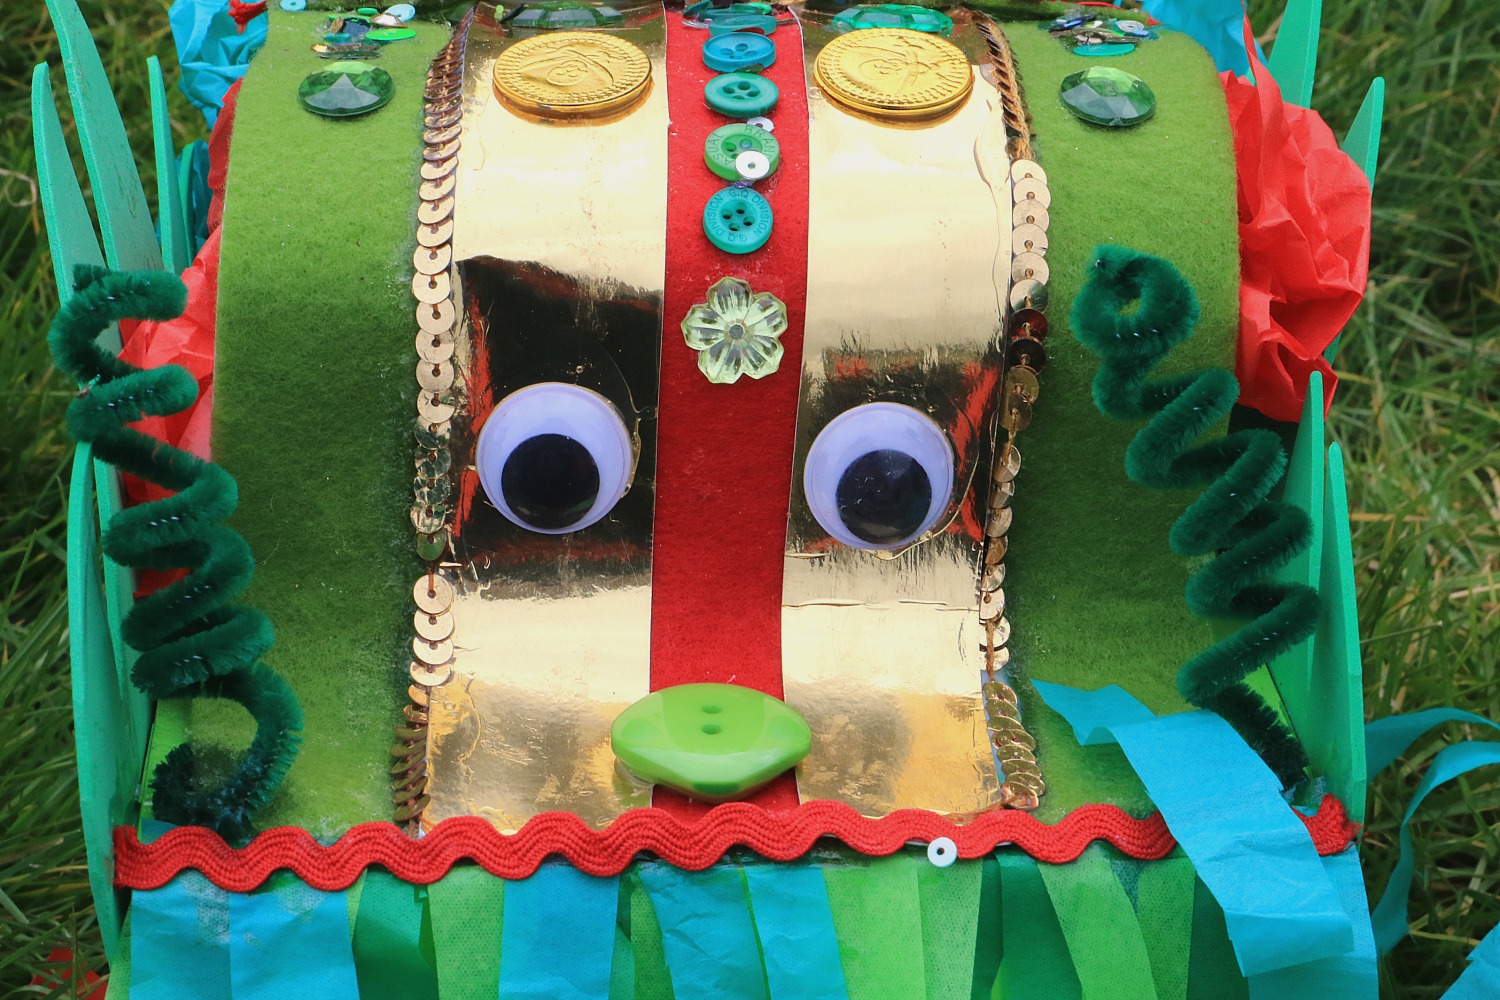
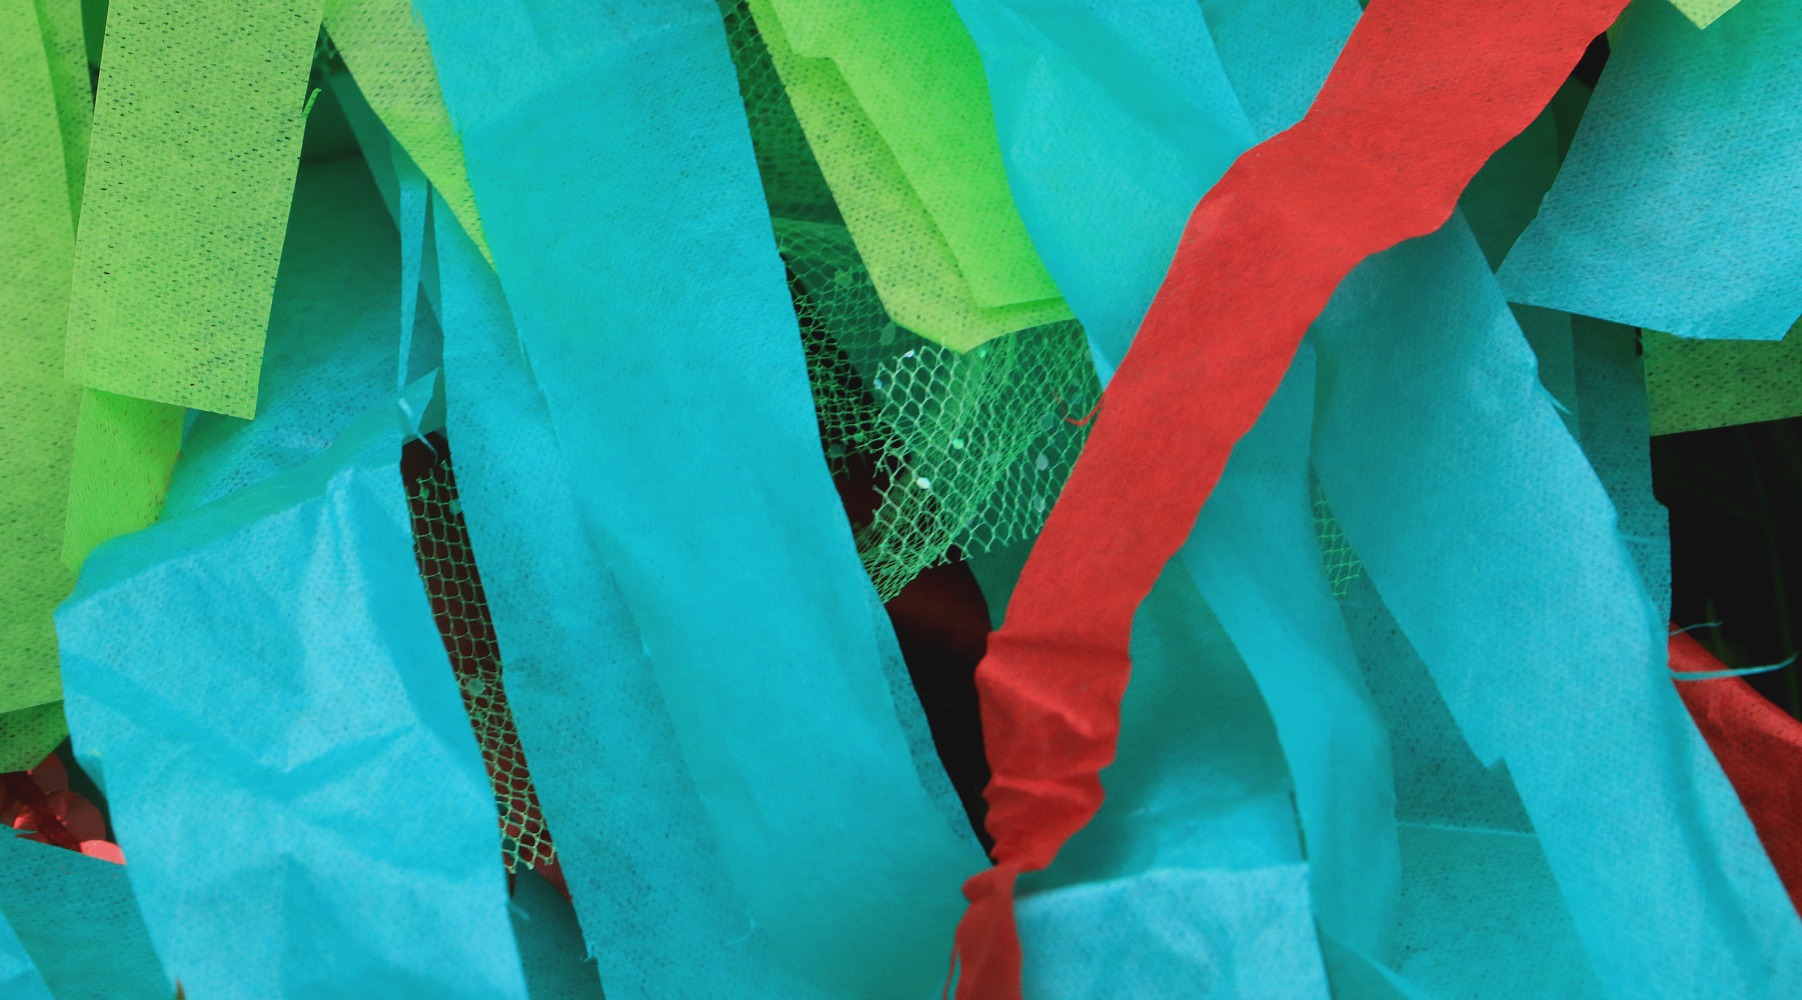
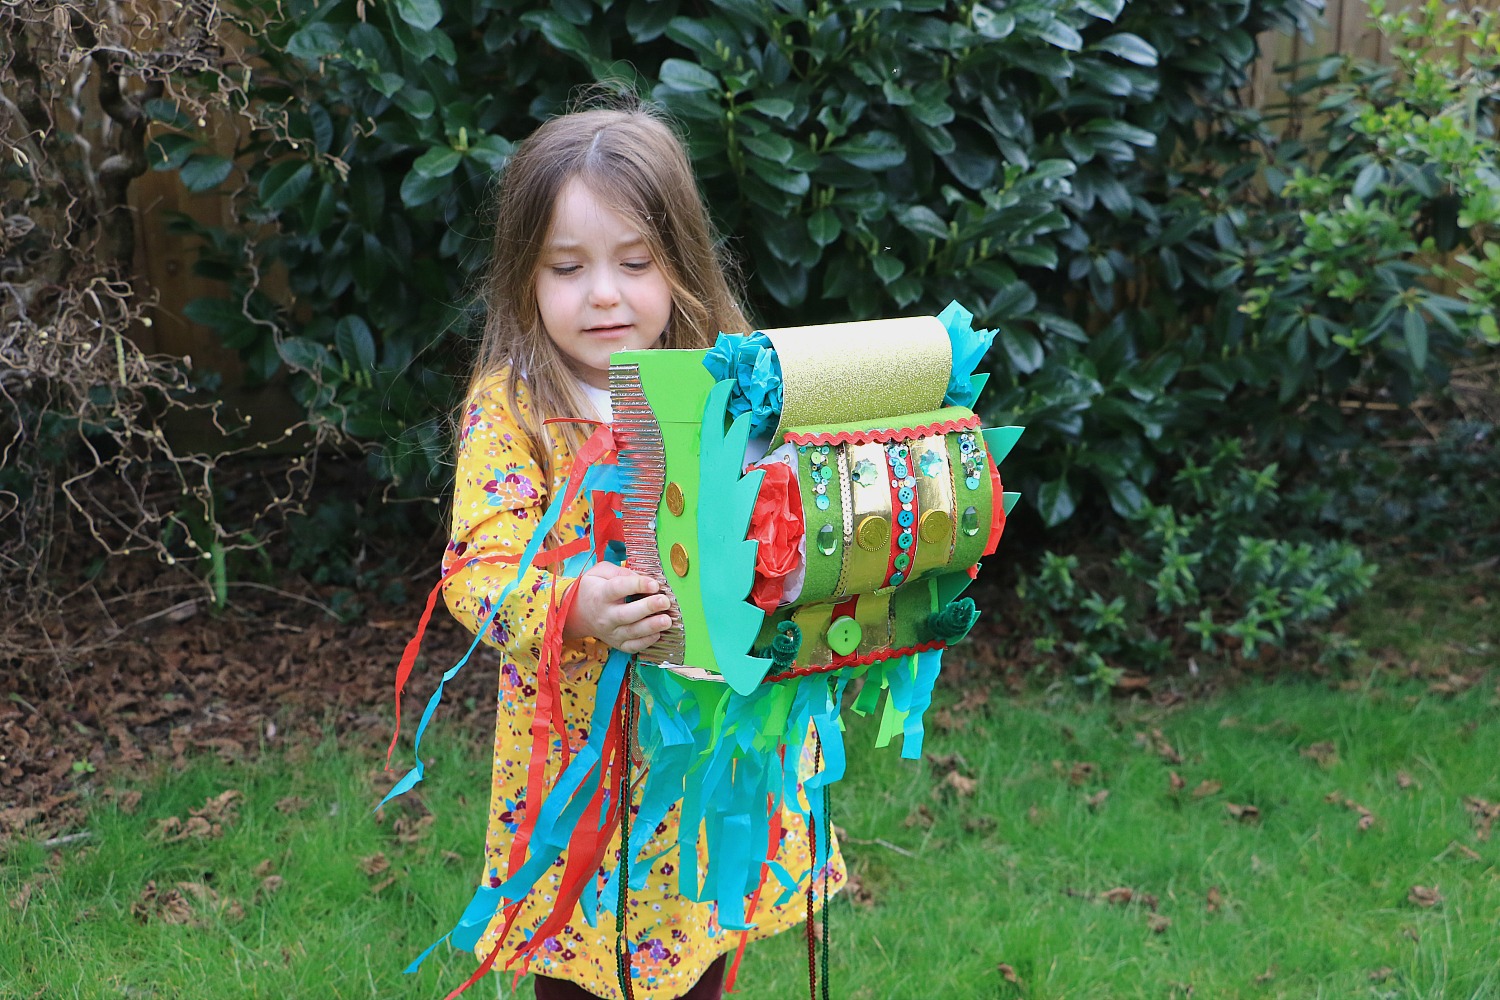
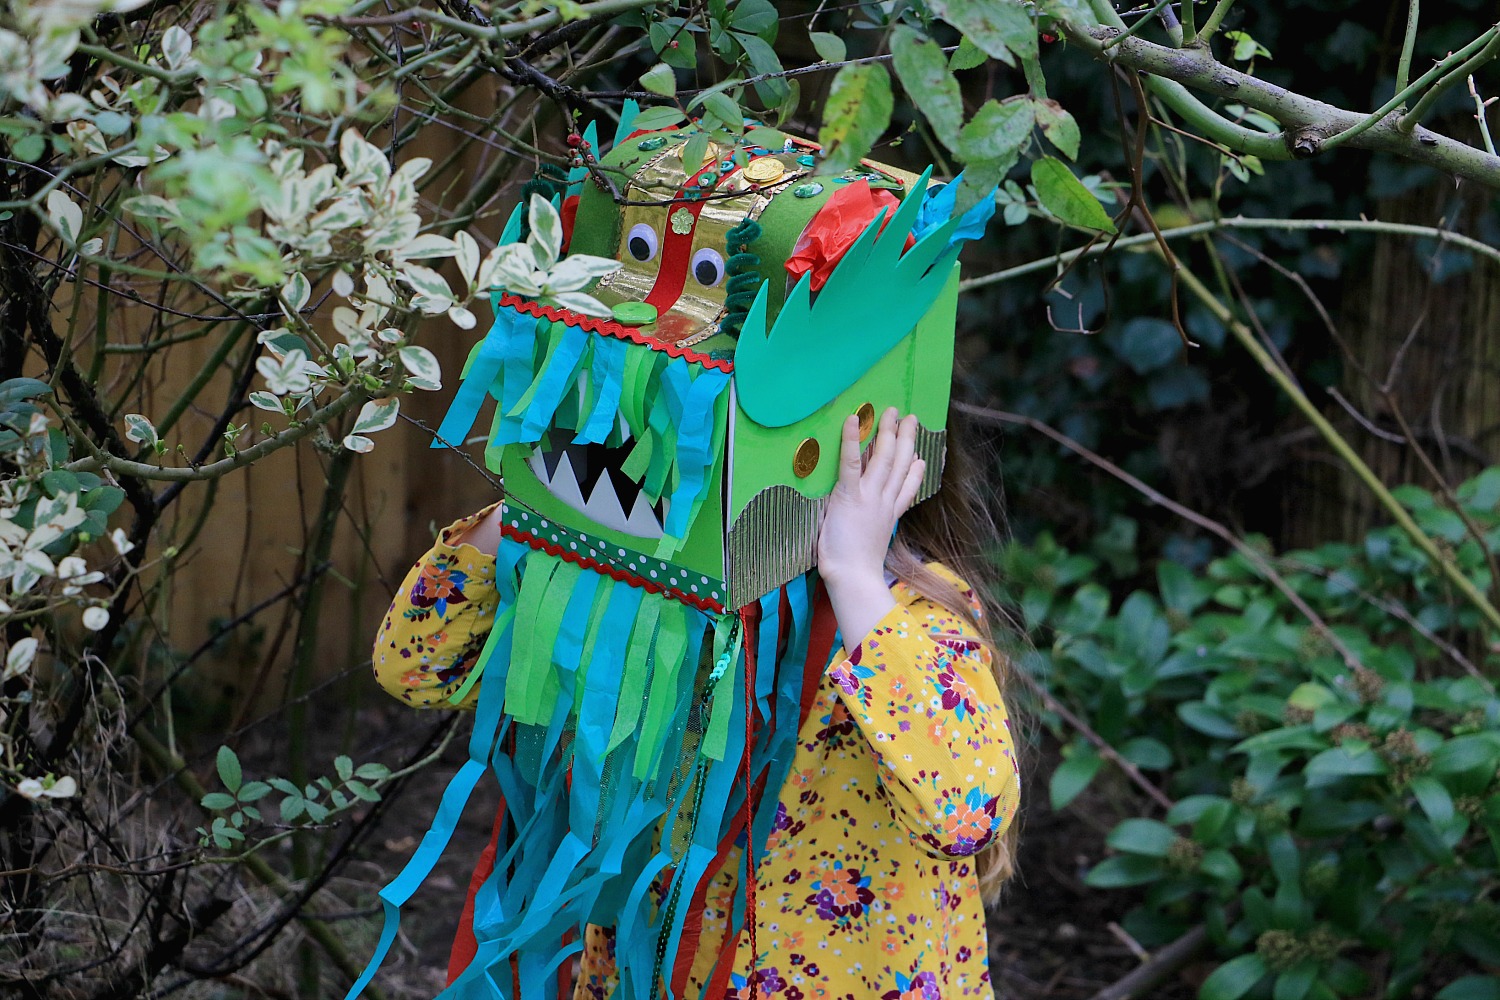
To make the dragon more ‘dragon-like’ we added strips of tissue paper to our creation around the top of the mouth and the sides of our box. It’s much easier if you have these already cut as it’s inevitable you’ll get glue on your fingers! To make the ends look tidier, we added red material round the face area and silver cardboard down the sides. We left our dragon overnight to dry properly, cutting the head hole to POD’s head size the following morning. She was then ready to test it out the new creation in the garden.
As you’d expect POD was more than happy to act out being a dragon which mainly consisted of running off, making roaring noises and pretending to eat leaves. We had lots of fun making this so I suspect ‘George the dragon’ will be around for some time to come yet!

Disclaimer: We are a #BostikBlogger and received a box of craft materials as inspiration for our dragon themed creation.


Oh I LOVE George the Dragon, he is wonderfully colourful and looks like so much fun! Great job, no wonder he is such a big hit with POD.
This is totally amazing. Yes the dragon mask is fantastic and super cool, but more than that I can see just how much POD enjoyed it
Wow, what a wonderful dragon, it’s so colourful. It wouldn’t look out of place at a Chinese festival. And POD wears it so well.
This looks totally awesome! How clever x
What a wonderful, colourful thing! My three would absolutely love to have a go at making one of these! Brilliant.
This is awesome really imaginative xx