In a beginners guide to macro photography, we covered what you can use to take close-up photographs. There are a range of options from camera phones with attachments like SquidCam, Eye Scope or Olloclip to compact and bridge cameras, compact system cameras and digital SLR’s. This time we’re focusing on how to take better macro photographs. As always, these tips are just a guide and you’ll certainly find what suits you best with a bit of practice.
Capture subjects head-on
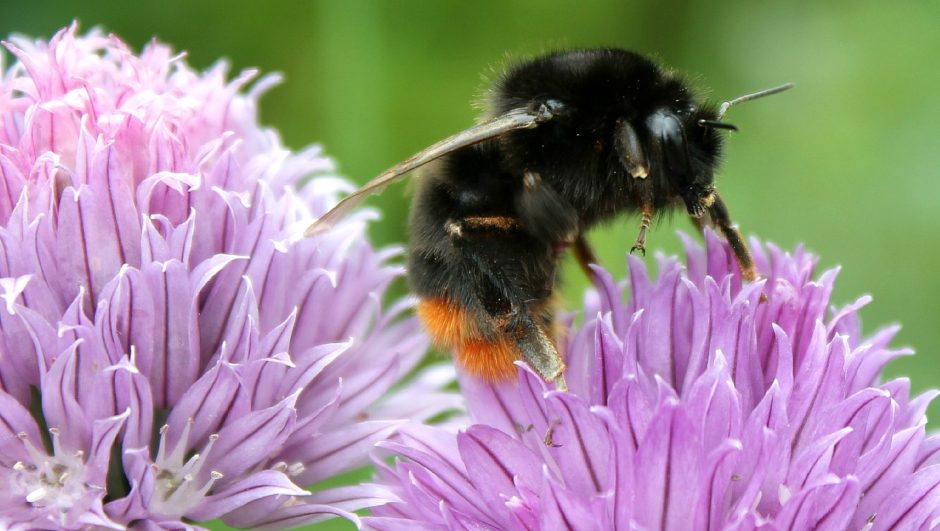
This seems an obvious one but can be the difference between a good photograph and a bad one. I always find the margin for error with macro to be so tiny so it’s important you follow the rules but adapt them to your personal preference. If I’m photographing an insect for example, I want to see the eyes directly in front of me and ideally a body that is symmetrical even if the photograph itself isn’t. Don’t be afraid to get really close.
Remove distractions
If there is anything in the background that could detract away from your image, like grass for example, remove it wherever possible. The ideal background is a solid colour so you may need to change your perspective to find the shot you’re looking for.
Use manual focus
While it might be tempting to pop your camera on AF (auto-focus), you really need to learn to use manual. It makes the task in hand so much easier and you’ll find you have so much more flexibility. You’ll find auto-focus can be quite challenging when you’re near to a subject. I’m a self-taught photographer so I prefer to tinker about with the settings to find what works for me but I do get the manual out occasionally. As with everything, experiment to see what works best for you.
Watch your aperture settings
When I purchased my 60mm macro lens, it took time to learn how to use it. Although I’d been capturing in macro for a while, it was a very different experience. The margin for error was huge and I couldn’t quite get it right. I wanted my subject to be fully in focus but I also wanted the background completely blurred. As it turned out, my aperture setting needed to be higher. My range tends to be f/11 or less depending on whether I capture a subject in its entirety or just part of it.
Select the best subjects
If you’re new to macro photography, choose still subjects – it’s much easier. I can remember chasing a stripey beetle around some lavender for 45 minutes only for it to disappear completely!
Patience is a virtue!
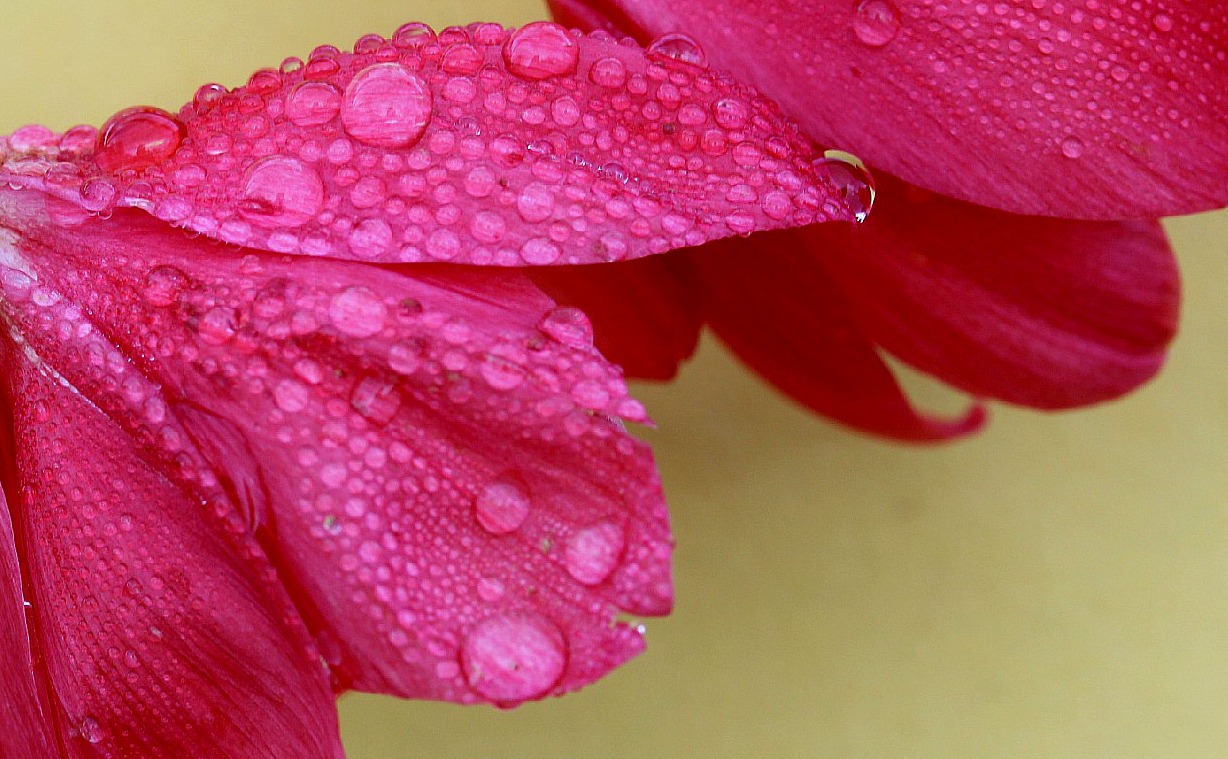
There’s a real contrast between running round after a 4 year old and macro photography. For the latter, you need to be still as possible. You often need to wait but it does pay off. If you position yourself next to a bush that attracts bees for example, they will come. Think of it as taking photographs of water droplets but having to wait until the rain stops first!
Using a tripod
The experts say you should use a tripod for macro photographs and there are huge benefits. I find thighs and boobs are a good way to keep steady when you’re a time short parent although I do have a tripod on my kit wish list!
Do something different
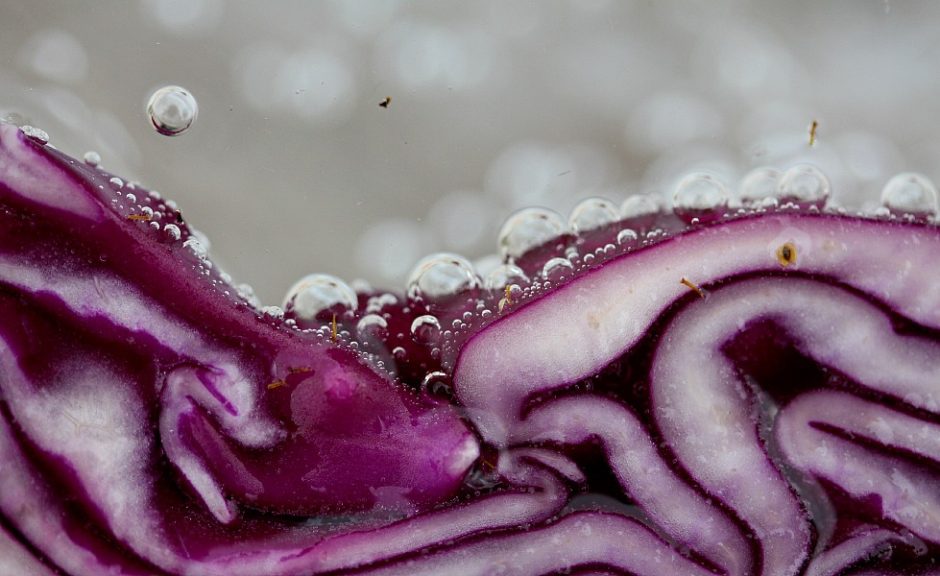
While flowers, insects and nature are popular choices, it’s always good to challenge yourself and get out of your comfort zone. Fruit, vegetables, cutlery, feathers, water droplets, glass, peeling paint, coins, rust, tissue and animals can also be interesting to photograph. The more you practice, the more you’ll see what’s out there. The downside being if you spot moss or algae for example, it’s going to be amazing!
Crop if you need to
I like to take a photograph of a complete subject even if I’m only interested in a part of it. That’s the way I work but it’s totally up to you what you prefer. Never be afraid to get in really close, the closer you get the more fascinating it is!
